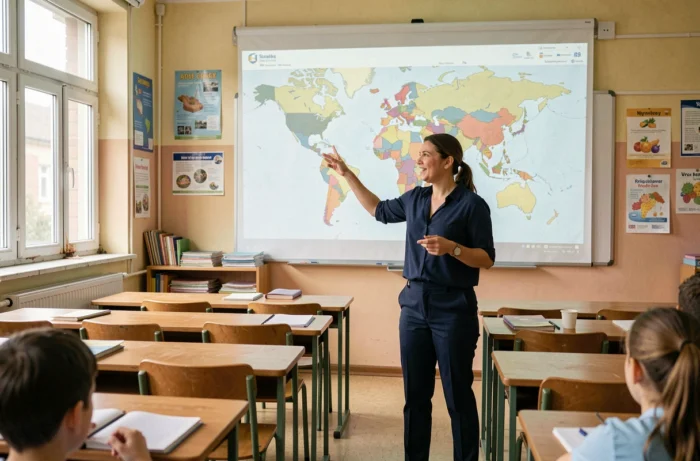
A projector connected to a laptop does not change teaching practice if the projection remains a one-way display. The key lies in how lessons are designed: every projected image should prompt students to take action, not passively read. Mastering the classroom projector setup (resolution, surface, brightness, control software) is essential to everything else.
Classroom projector settings for primary school
Most issues that discourage teachers stem from poor initial calibration, not the equipment itself. Three settings deserve careful attention before every lesson.
The projection surface is the first challenge. A glossy whiteboard reflects light, reducing contrast. A sheet of matte white paper secured with magnets eliminates the glare at negligible cost. Aim for an image large enough for students at the back of the room to read 24-point text without squinting.
The throw ratio determines the distance between the projector and the wall. An ultra-short-throw projector can be placed less than a meter from the board, avoiding the teacher’s shadow and freeing up space to move around. If the school has a standard projector, mounting it on the ceiling is the only way to keep the beam from being blocked constantly.
As for software, projecting content in primary school classrooms becomes smoother when you use presentation software that supports revealing instructions gradually. Displaying an entire exercise at once overloads the working memory of Key Stage 1 pupils. It is better to schedule steps to appear one at a time, at the class’s pace.
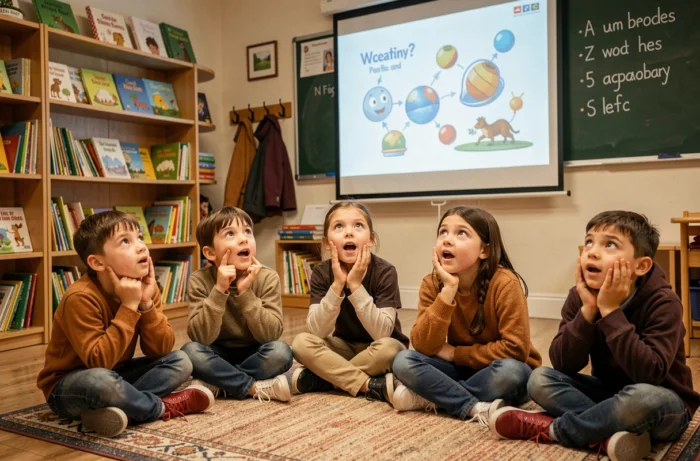
Interactive projectors and student work
A non-interactive projector relegates the class to the role of audience. Interactivity depends not on the budget but on the lesson plan. Even without a touchscreen, several approaches can turn the projection into a shared workspace.
Annotate, sort and classify on the projected image
With digital whiteboard software (Open-Sankoré, OpenBoard), the teacher or a student can annotate the projected document directly: circle a noun phrase, match a fraction to its graphical representation, or cross out a disproven hypothesis. Live annotation makes the reasoning visible to the whole class.
If the school has an interactive projector or interactive display, students can come up to move labels, draw geometric shapes or put a timeline in order. Working at the digital board changes their role: students are no longer just receiving information; they are actively manipulating it.
Compare students’ work
Projecting two different solutions to the same problem and asking the class to identify the differences creates a level of cognitive engagement that individual workbooks cannot. The teacher photographs students’ work using a visualiser (or simply a smartphone on a tripod connected to the computer), then displays the two approaches side by side.
- A visualiser captures a paper document in real time and sends it to the projector, making it possible to demonstrate how to handle materials (cutting, folding, or a science experiment) without students leaving their seats.
- Presentation software with hidden sections lets you reveal the answer gradually, giving students time to check their own work before seeing what comes next.
- Recording an annotated session (a built-in OpenBoard feature) creates a reusable digital record that can be used in the next lesson to reinforce learning.
Differentiated teaching through projection
Projecting content does not mean showing everyone the same thing. The French Ministry’s ÉduNum newsletter on differentiated teaching highlights how digital tools can adapt content and pace, particularly for pupils with special educational needs.
In practice, this means displaying several levels of instruction on the same screen. A slide can include the standard exercise and, in a separate coloured box, visual aids for pupils who need extra support: pictograms, highlighted keywords and numbered steps. The teacher no longer needs to move around the room to rephrase every instruction individually.
For faster-working students, a “challenge” button on the next slide offers an extension activity. The projector then becomes a tool for managing the pace of the whole class, not just a display screen.
Limitations of classroom projection and common pitfalls in primary school
The evaluation of the 2015–2017 Digital Plan found no significant effect on academic results. This institutional finding is a reminder that equipment alone does not improve learning. We find that the main risk remains prolonged passive viewing, which turns a lesson into a screening.
A series of slides read aloud by the teacher recreates a lecture with a brighter visual aid, without changing the student’s cognitive load. Every projection should prompt a response: a show of hands, a raised mini-whiteboard, a written sentence or a trip to the board.
The other pitfall is screen time. Recommendations on children’s screen use encourage breaking it up: alternate a ten- to fifteen-minute projection session with time spent working in a workbook or handling physical materials. This alternation helps maintain attention and prevent eye strain, especially in Key Stage 1.
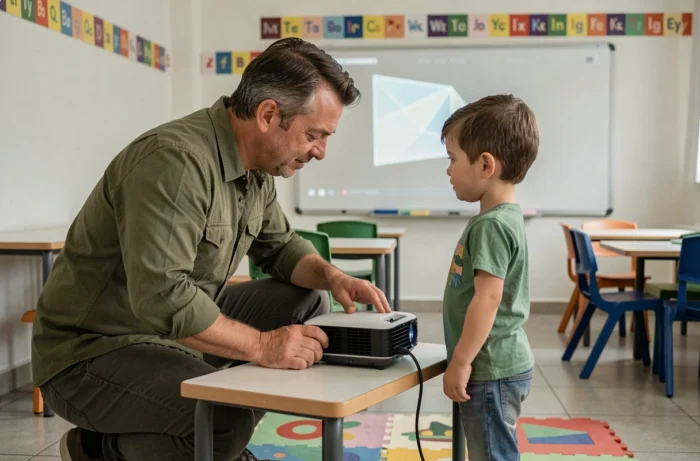
Finally, relying on equipment can put a lesson at risk. A projector lamp that burns out, a faulty HDMI cable or a computer installing updates can bring the whole class to a standstill. Always having a paper-based backup plan for every digital lesson is the best way to safeguard learning.
A projector in a primary school classroom only captures students’ attention when it serves as a shared workspace. Projecting an instruction followed by a task, annotating in real time, comparing students’ work and using visual differentiation: these teaching practices, not the technology, are what keep students engaged.